Author: Site Editor Publish Time: 2021-11-05 Origin: Site


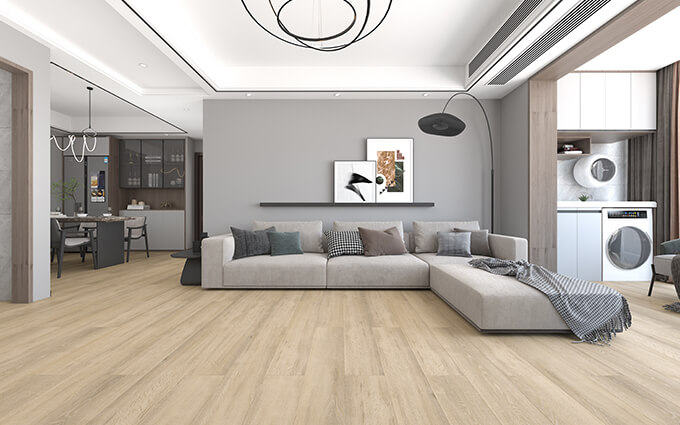
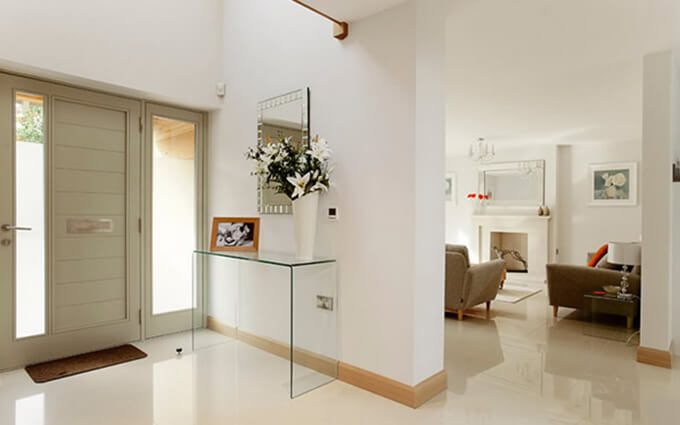
Vinyl flooring is known as an inexpensive and easy way to get the sought-after flooring in your home. Vinyl plank flooring offers a realistic wood look with a lot less upkeep than traditional wood flooring. Sheet vinyl gives your floor a unique style with patterns, wood-looks, and stone-looks that require little maintenance. Whatever form of vinyl flooring you choose, you’re sure to have a low-maintenance flooring hit! But how do you clean vinyl floors?
That’s what makes vinyl flooring a great alternative. It’s notoriously low-maintenance and easy to clean. There is also vinyl flooring that is waterproof! All these features make vinyl flooring the perfect alternative to real hardwood.
Cleaning flooring is nobody’s favorite thing, but with these products, remedies, and tips, cleaning your vinyl floors will be a breeze!
There are a lot of great vinyl cleaning products out there, but a lot of the time, those products might be too harsh for weekly moppings and are better used for deep cleans. Luckily, DIY floor cleaner works just as well for daily cleanings! Here are a few recipes for DIY vinyl flooring cleaner and stain removal.
Weekly Cleaning Remedies
Vinyl should always be mopped using a nonabrasive floor cleaner, without harsh chemicals. We recommend these natural cleaner recipes for the best results.
· Vinegar: Apple cider vinegar is known as an eco-friendly cleaning product. It’s great at getting off grime and dirt without using harsh chemicals. If you’re looking to disinfect while cleaning, you can use distilled white vinegar instead.
· Dish Soap: Dish soap is a heavier duty cleaning agent for deep cleaning. It smells better than vinegar, but requires more diligent rinsing to prevent soap build-up on your floor.
· Baby Oil, Essential Oils, and Lemon Juice: To add a little shine or a better smell to your vinegar solution, try adding a few drops of baby oil, essential oil or lemon juice to your DIY floor cleaner. Not too much, though, or you’ll create build-up!
Now add it all together!
· 2 gallons of warm water
· ½ cup rubbing alcohol
· ½ cup white vinegar
· 1/8 tsp dish soap (without bleach, oils or moisturizers)
Thoroughly mop the floor with the mixture. To avoid soap build up or any unwanted cleaner residue make sure you rinse and dry the floor afterward and not let the water sit on the surface.
DIY Stain Remover for Vinyl Floors
Though we hope your vinyl flooring never gets stained, accidents do happen, especially when kids or pets are around! Luckily, there are a few ways to take out those hard to clean stains.
· Baking soda paste: Add a few drops of water to baking soda to create a paste. Apply the paste to a hard stain and gently rub with a soft cloth. Wipe clean when finished.
· Isopropyl alcohol: If you’re dealing with ink or marker stains, a small amount of alcohol on a soft cloth should do the trick.
· Nail polish remover: Use this only when cleaning up nail polish spills. Dabbing a nail polish stain with nail polish remover should bring it right up.
Before you use your DIY vinyl floor cleaner or stain remover, test it out in an inconspicuous spot on your floor to make sure it doesn’t cause any damage or discoloration.
The best way to clean a vinyl floor is to stop it from getting dirty in the first place! Okay, I know that’s not super feasible, but hey, we can dream.
How can you prevent your vinyl flooring from getting super dirty before you have a chance to clean it? Here are a few ideas:
· Doormats: Shoes can track in dirt and tiny rock particles that will scrape against your flooring and eventually wear down the wear layer over time. To help your floor last as long as possible, use a doormat to shake off any loose particles before walking into your home. Tip: Rubber can discolor vinyl without a wear layer, so be sure to choose a doormat without a rubber backing.
· Take off your shoes: While you’re at it, why not take off your shoes when you get home? This might be especially important if you work in a profession where rocks and gravel can get stuck to your shoes.
· Use furniture pads: It’s a good idea to use foam or felt pads under your furniture feet, especially under heavy furniture. Furniture pads can help prevent dents, scrapes, and scratches on your vinyl flooring. Additionally, it’s a good idea to lift furniture when moving and avoid dragging furniture across the floor. It’s also important to buy the appropriate pads for vinyl; some furniture pads use rubber, which can discolor vinyl without a durable wear layer.
Who hasn’t had the occasional spill happen? No need to panic, just make sure you clean the spill as soon as you can. If you let spills or little messes sit, it can eventually become that annoying stuck-on stain that you have to spend time and money cleaning. Simply get it off the floor with a soft cloth, while it’s still fresh, and avoid the headache of stubborn stains.
A daily sweeping routine will do wonders with maintaining your vinyl flooring. Like I said before, dirt contains hard edges that scrape against your flooring as it’s tracked across. Sweeping often will keep your floor looking pristine, longer.
We suggest using a soft bristle broom for sweeping. It’s more gentle on the floor and still gets the job done.
If you’re cleaning with soap or vinyl flooring cleaners, don’t forget to rinse when mopping! Keep a fresh bucket of water available or even a fresh mop for rinsing your floor after mopping. Not rinsing your flooring can leave soap stuck to your floor, and over time that will build up and actually trap grime. If you find your vinyl flooring is looking dull, make sure soap build-up has not occurred by thoroughly cleaning and rinsing your flooring.
Scuffs can be scary to see on your vinyl flooring, but luckily these aren’t permanent and can be fixed with a few cleaning tricks!
· Tennis ball: Sure, it sounds kind of kooky, but it’s proven to work! Rubbing a tennis ball on the scuff in a circular motion can erase some scuffs.
· Pink eraser: Your kiddo’s big pink eraser might be just the thing you need to take on black scuffs. Just rub the scuff with the eraser and the mark may come up.
· Oil: If you’re finding the scuff to be too stubborn for erasers and tennis balls, try an oil-based solution. Spray WD-40 or jojoba oil on a soft washcloth and gently rub the area until the scuffs are gone. Be sure to clean the area with a vinegar and water solution to remove any oil traces.
While there are several tips and tricks for cleaning there are also some things you might want to avoid, listed below.
· Harsh chemicals: Cleaners with harsh chemicals can be way too much for your vinyl floors, especially for daily or weekly cleaning. Be sure to use a less abrasive, natural cleaner like the DIY options listed above.
· Steam mops: Steam mops are super popular right now for quickly cleaning floors. Unfortunately, they can damage your vinyl flooring. Even if your vinyl flooring is 100% waterproof, the high heat of the steam can warp or damage your vinyl flooring. It’s best to stick to the trusty mop.
· Vacuum beater bars: Vacuums with beater bars are not the friendliest for vinyl flooring. What’s a beater bar? It’s a bristled brush that spins at the base of the vacuum; it’s great for picking up dirt, but not great for hard flooring. Make sure you vacuum with the beater bar turned off to keep the abrasive brush from scraping your flooring too harshly.
· Floor wax: These days, most sheet vinyl, vinyl plank, and tile floors are labeled “no wax.” This isn’t a suggestion, it’s a rule! Using mop-and-wax products can cause build-up over the years, trap grime, and can even discolor your vinyl flooring.
Conclusion
And that’s it! With these tips and tricks, you’ll definitely be able to keep your vinyl flooring looking its best for years to come!