Author: Site Editor Publish Time: 2021-05-06 Origin: Site


Of course, yes. Luxury Vinyl Planks, for example, self-adhesive, dry back, and planks with Stair Nose on stairs will have a great performance in your home.
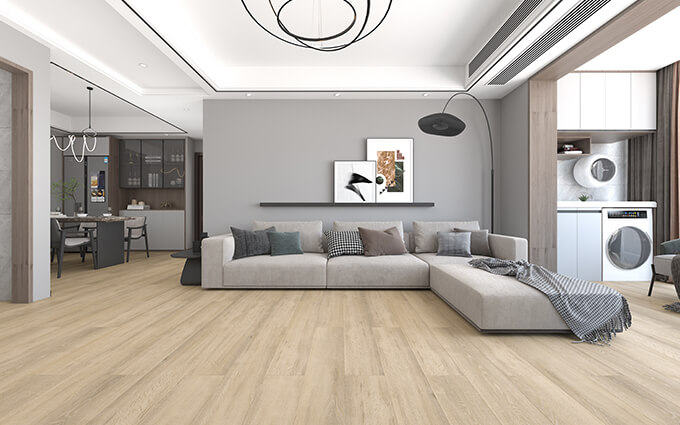
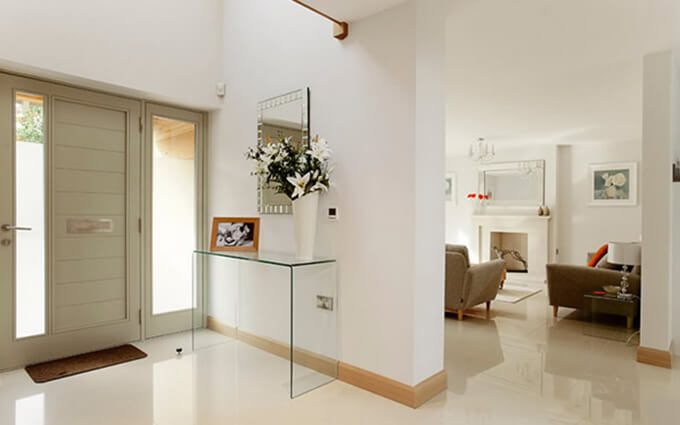
If you’re like many homeowners who are selecting luxury vinyl tile for its affordability, remarkable durability, realistic wood looks, and easy installations, then you’re probably pondering what to do about the staircase. Yes, LVT can be installed on stairs, and the outcome is a gorgeous-looking tile floor that is easier to clean than carpet and creates a cohesive design. Plus, it holds up well to the heavy traffic that stairs see.
Previously with LVT, though, stair installations required a lot of planning, measuring (more than once), cutting, and fitting to get the job done. Unfortunately, it didn’t always look so sleek in the end. Luckily, there’s an easier solution today with Protex Flooring. Not only we produce LVT/SPC flooring, but also the stair nose/risers with same décor with your flooring.
INSTALLING LVT ON STAIRS
One of the greatest luxury vinyl tile benefits is the easy installation method, even for DIYers. First, check to see if the bulging bullnose on the stairs need to be cut or if the bullnose fits underneath the stair treads or stair noses. Once that’s done, you’ll want to begin at the bottom of the stairs if you have matching risers and work towards the top; if no matching risers are being installed, then you can install the stair treads anywhere you want.
Start out by using either a riser or a plank, and ensure that it’s the correct height. If you choose to go with an LVT riser, then cut the vinyl piece to size and cut off the click-locking system. Flip the riser or plank over, and give it a quick sanding before adding glue to the backside in strips approximately 6 inches apart. Press the riser into place, and add painter’s tape to help hold it in place.
Next, measure the tread of the stairs to check if the stair tread needs to be cut for depth or length. Give it a quick sanding, remove the painter’s tape on the riser, add glue to the stairs in strips approximately 6 inches apart, and press the stair tread down and in place.
For the remaining risers, check the measurements for the height to see what cuts need to be made. Remember that these will be sitting on top of the stair treads unlike the first one. You want your pieces to be as flush as possible. Then, continue installing the risers and treads as mentioned.
When it comes to a landing or the top of the stairs, remember to use a flush stair nose instead of a stair tread. That’s because this shorter piece will be glued into place where it will connect with the rest of the luxury vinyl tile.
For stairs with returns, take a stair nose and miter the edge at a 45-degree angle for one or both sides. Then, miter another piece that will fit flush with the first stair nose. Cut the floating-click mechanism off on the planks and noses. Next, glue down the plank and the mitered noses so that everything sits flush.
As you can see, this stair install features a finished return edge, but the angles aren’t at a 45-degree angle. Instead, they complete the open edge of the staircase where the warmer-toned spindles beautifully stand out against the Fauna LVT, a lighter-brown vinyl with dark brown knots and graining for an authentic wood look from MSI’s Prescott series.
One of the best things about using luxury vinyl tile is that you can use it in any room or level, including the stairs. Extending LVT flooring up the stairway will help to freshen up your landing and keep the planks matching throughout the house. Besides its simple vinyl flooring care and maintenance is its easy installation process, and having the right finishing parts greatly impact the project and give it a professionally polished look. Using Protex LVT stair pieces will make the vinyl flooring installation process much easier and smoother.